Monday, September 28, 2020

Proxy and Game Resolution Model Creation Part: 01

This week we started off with a series of videos to follow that helped us understand the basics of making a game asset from scratch. 


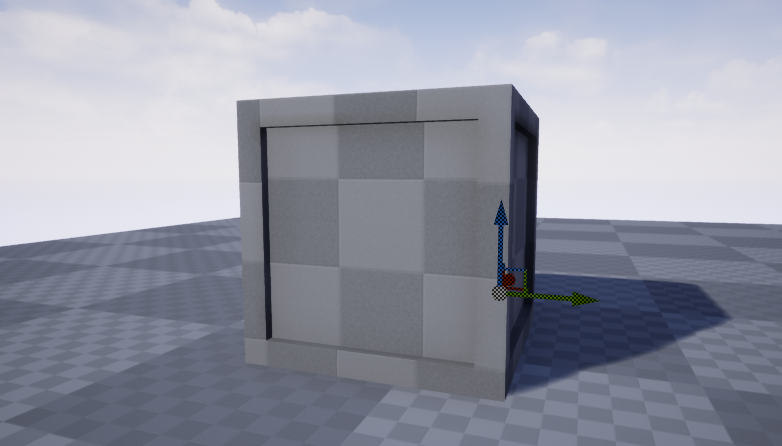
The first steps were to make sure that our proxy was set to the correct size in unreal.


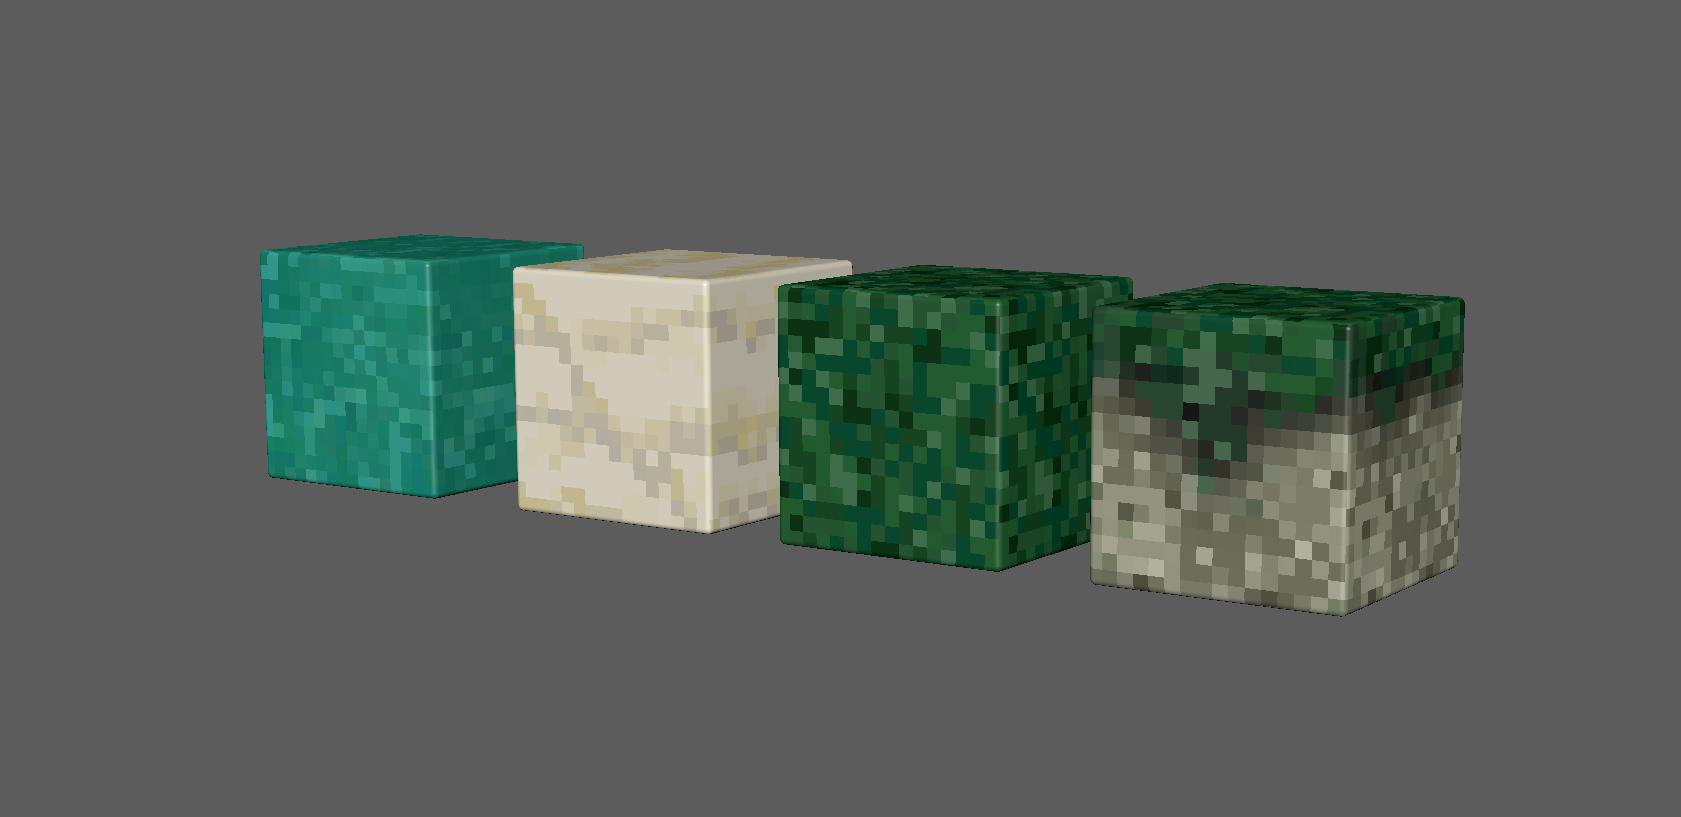
I ended up cutting the size to about half this square above.

Next was to create the basic proxy shape and import it into unreal to set up our modeling pipeline.


In engine, we can see that the UVs need to be adjusted so that our lighting is as accurate as possible.

So I fixed the UVs in Maya and re-exported the proxy.


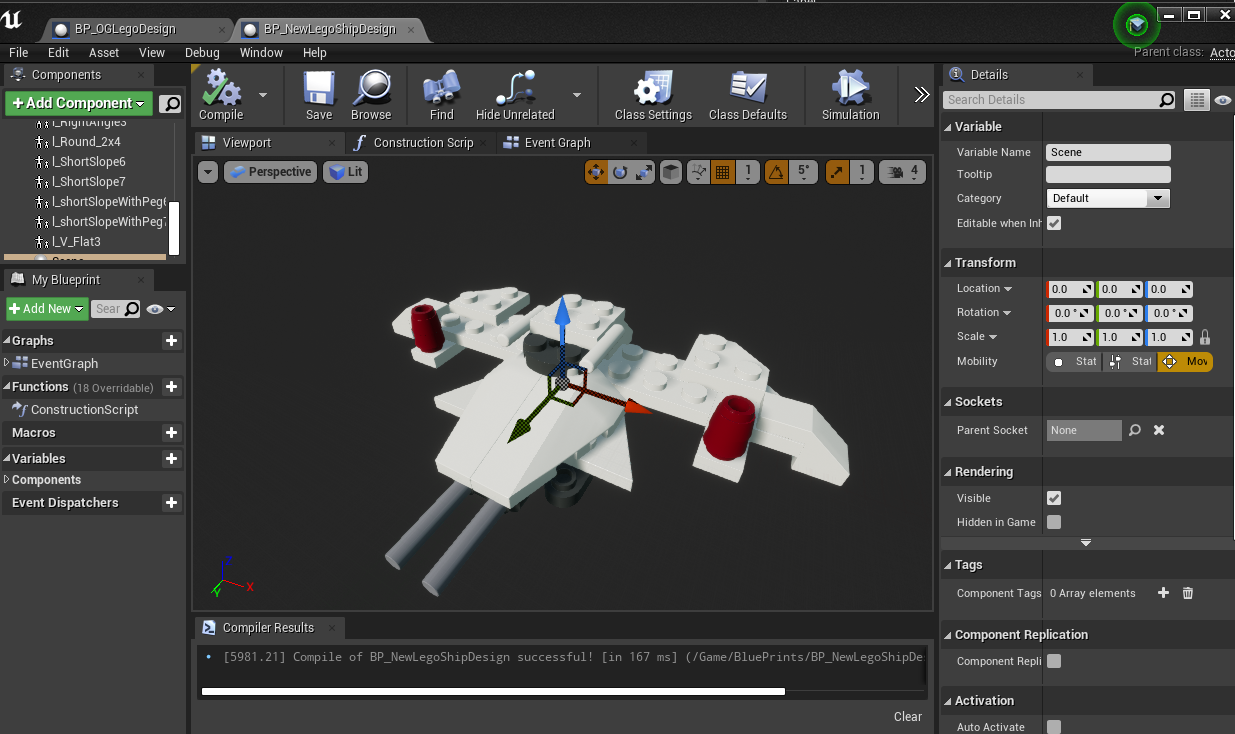
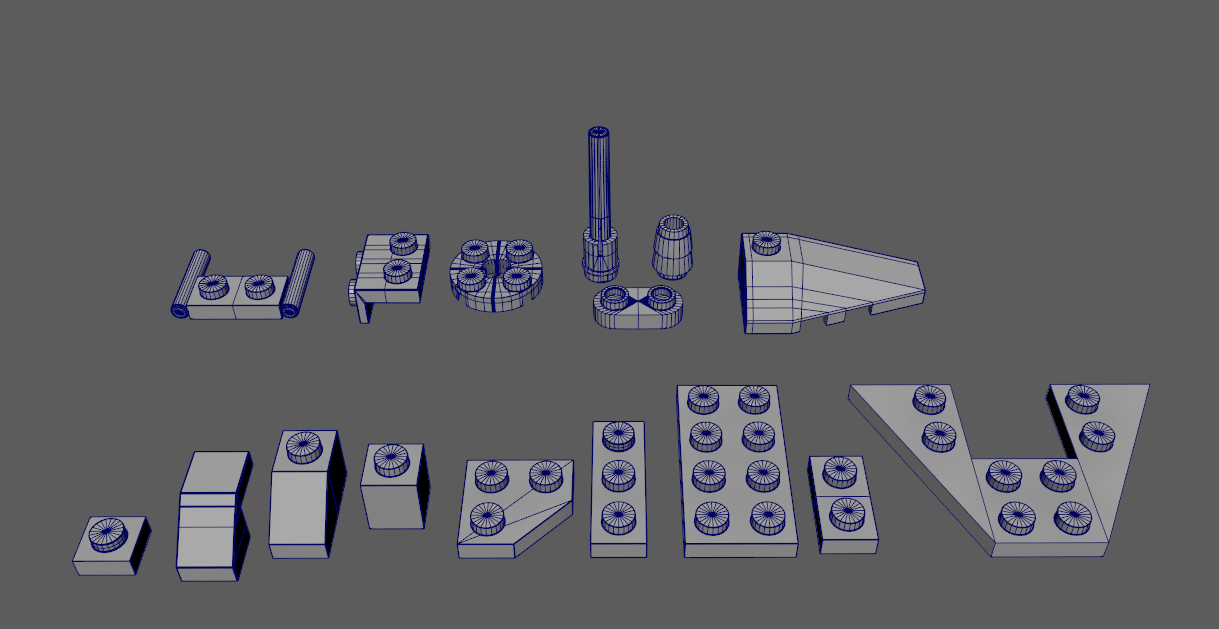
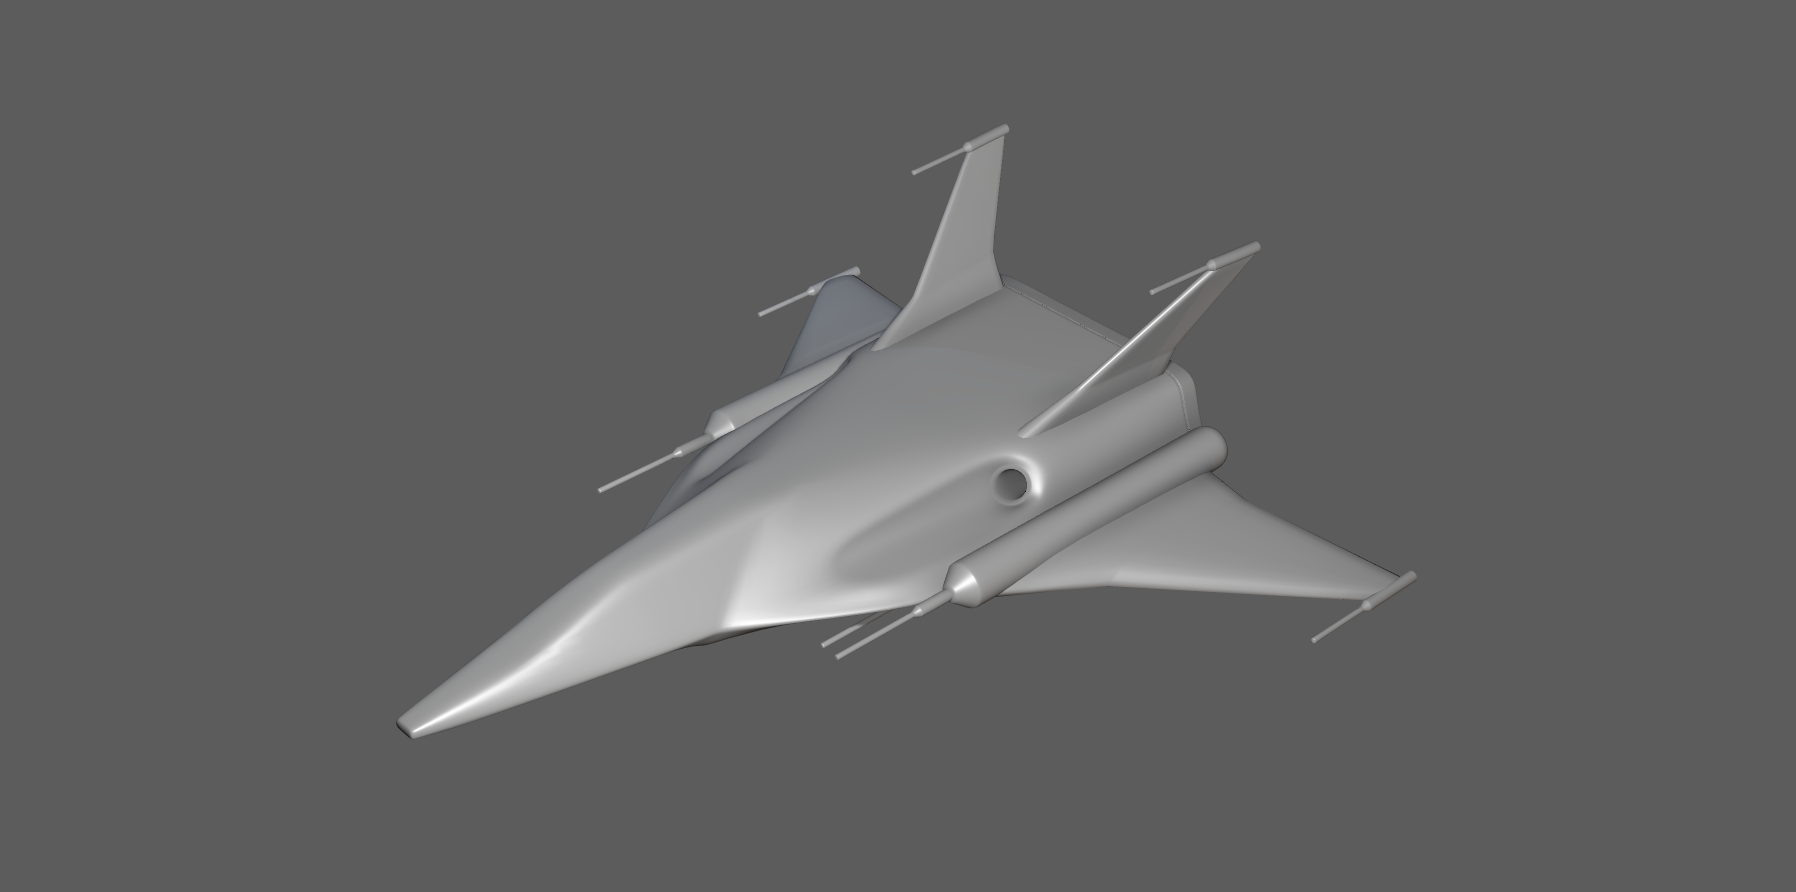
After the proxy shape was set, I continued to add more detail to get the shape below: 


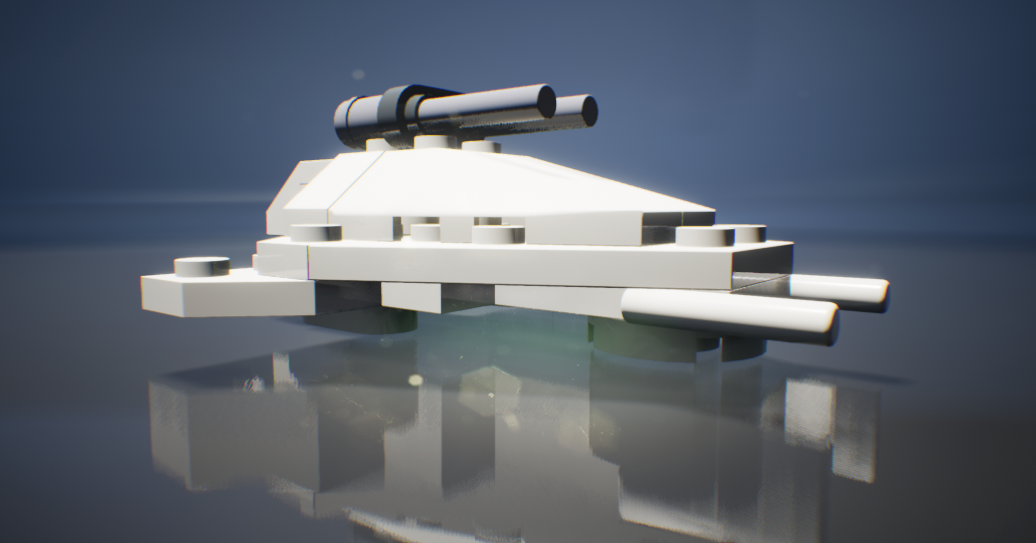
I then combined the top layer of the box (lid) and the bottom part of the crate. 


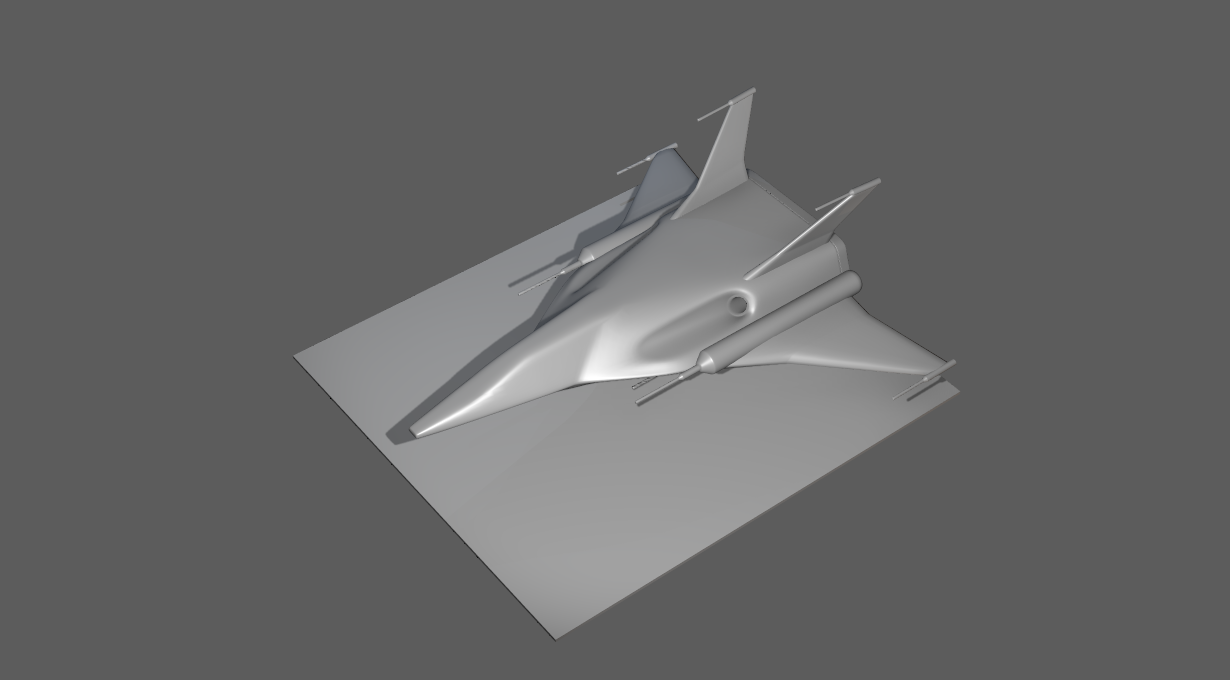
I then rendered out a shot, to finish off the first step in the process: 


Thursday, September 24, 2020

Week 04- Use of Basic Lighting

For this week, we focused on the basics of lighting in Maya. We were given a series of models and were tasked to light them in a way where there was a clear directional light, an ambient/bounce light and a rim light. This way we emulate a real world studio lighting set up, but for 3D models. 


First I pulled in each model into the scene and set up a directional, point and sky dome light.


once I liked the lighting, I set up a render camera and set the render settings to be a vertical render.


I then rendered out each model, and then edited them in photoshop. My results are below:


Original render out of Maya: 


Edited in Photoshop: 


Original render out of Maya: 


Edit in Photoshop:


Original render out of Maya: 


Edit in Photoshop:


And Finally my lego ship from the 3D art project: 


Edit in Photoshop: 


Monday, September 21, 2020

Lego Project Part 2

This week we continued our lego project and assembled our pieces in Unreal.


First I laid out all of the required pieces:


Then I assembled them as best I could with the reference images we were provided with:


After assembling the ship, I used the same number of pieces to create another ship design below: 


We then needed to make blueprints of each of the ships and set a some events to make the ships spin on their own: 


And then after assembling the blueprints, we made cameras and set them to a sequencer to render out.


Here is my final result after adjusting postprocessing effects within the engine: 


Thursday, September 17, 2020

Week 03: Value

This week we were tasked to take a 3D model and do a study about contrast and value. Below is the board I put together for some lighting reference and color inspiration.


We were given the model below as well: 


In Photoshop I worked with layers of color and filters and got the below results after:


Sunday, September 13, 2020

Week 03 Lego Project Part 1 : Building the Lego Bricks

 This week we were tasked to create lego pieces in Maya from reference and to a particular scale. 


Below is the reference I decided to follow to create the pieces.


We were given a base scene file and basic legos for reference to get us started on making the rest of the custom pieces.

First for each piece we would need to make the proxy shape.


Once the shape was at a place that I was comfortable moving forward with, it was time to add more detail and bevels to get that classic Lego brick look.

Here are the pieces that I will be using to assemble the ship and import all the assets into UE4 next week. 


Wednesday, September 9, 2020

Common Art Week 02: Silhouettes

This week for common art we were focusing on Silhouettes. We were provided with a base model and Pureref reference image board to get us started off. The designs we would make were to prepare us for a later collaborative work where a team of us would be updated the classic arcade game Galaga. Whenever I think of Galaga's ships I automatically think about bugs and that is where I focused the majority of my inspiration for my ship designs. 

Here is the reference board we were provided with: 


Here are the images I pulled together for additional reference: 


First I pulled in the base model into a Maya scene and set myself a simple scale reference in order to maintain the general size of the ship to match closely with the original. 


After manipulating and adding some primitives to the model I was able to get the designs below:


Here are the ships in Maya, I am definitely interested in taking the simple shapes further into more fleshed out models in the future. 


Monday, September 7, 2020

3D Art- Week 02 Minecraft

For this weeks assignment, we were tasked to create cubes and textures in the style of minecraft and then to create a scene in unreal. 

I chose a collection of images to pull inspiration from below prior to jumping into Maya or Unreal.


To start off we needed to create a cube in Maya and give it enough of a rounded beveled edge so that our minecraft style blocks would be easy to UV and texture.


Next I laid out the uv's before hopping over into Photoshop to add textures. 


Then I set up the test texture in Photoshop and then imported that into Maya to make sure that my layout was working properly. 


Now that my texture and layout were good, I moved forward and created 4 different blocks that I would be using in my Unreal scene. 


Once in unreal I set up the material that would be applied to the different blocks.


Here are the blocks once in the scene: 


I did a quick and simple layout in Maya and imported that into unreal, that way I had a bit more of an idea of where to place my blocks in the scene.


Here are some shots in engine: 


After adjusting blocks and lighting here are my final results.


Project 03: Week 04 Final Presentation